Installing dlib
This was a tough nut to crack. Having a slow RPI-3 made installing dlib difficult. Compilation took forever - that is, it didn't complete. Having an SSH connection to the RPI didn't help either. At some point, when I had walked away, my Windows computer went to sleep and lost network connection. When, on the next day, I tried to reconnect, the RPI failed to connect. So I rebuilt the RPI. Twice.
The solution was to:
- Ensure that the necessary prerequisites are installed
- Expand Swap memory, which is important for a well aged RPI-3
The RPI-3 has limited RAM, so building dlib can crash without enough virtual memory.
Reconfigure the swap memory by editing the configuration file with:
> sudo nano /etc/dphys-swapfile
Change the line CONF_SWAPSIZE=100 to CONF_SWAPSIZE=2048
Save and exit, then apply the changes by restarting the swap service with:
> sudo systemctl restart dphys-swapfile
To verify the new swap is active use the command:
> free -h
Look at the Swap: row, where you should see approximately 2.0G. If it still shows 100M or less, double check the file and restart the service again.
I'm glad I had Git and my code was already on GitHub.
Starting With a Clean Slate
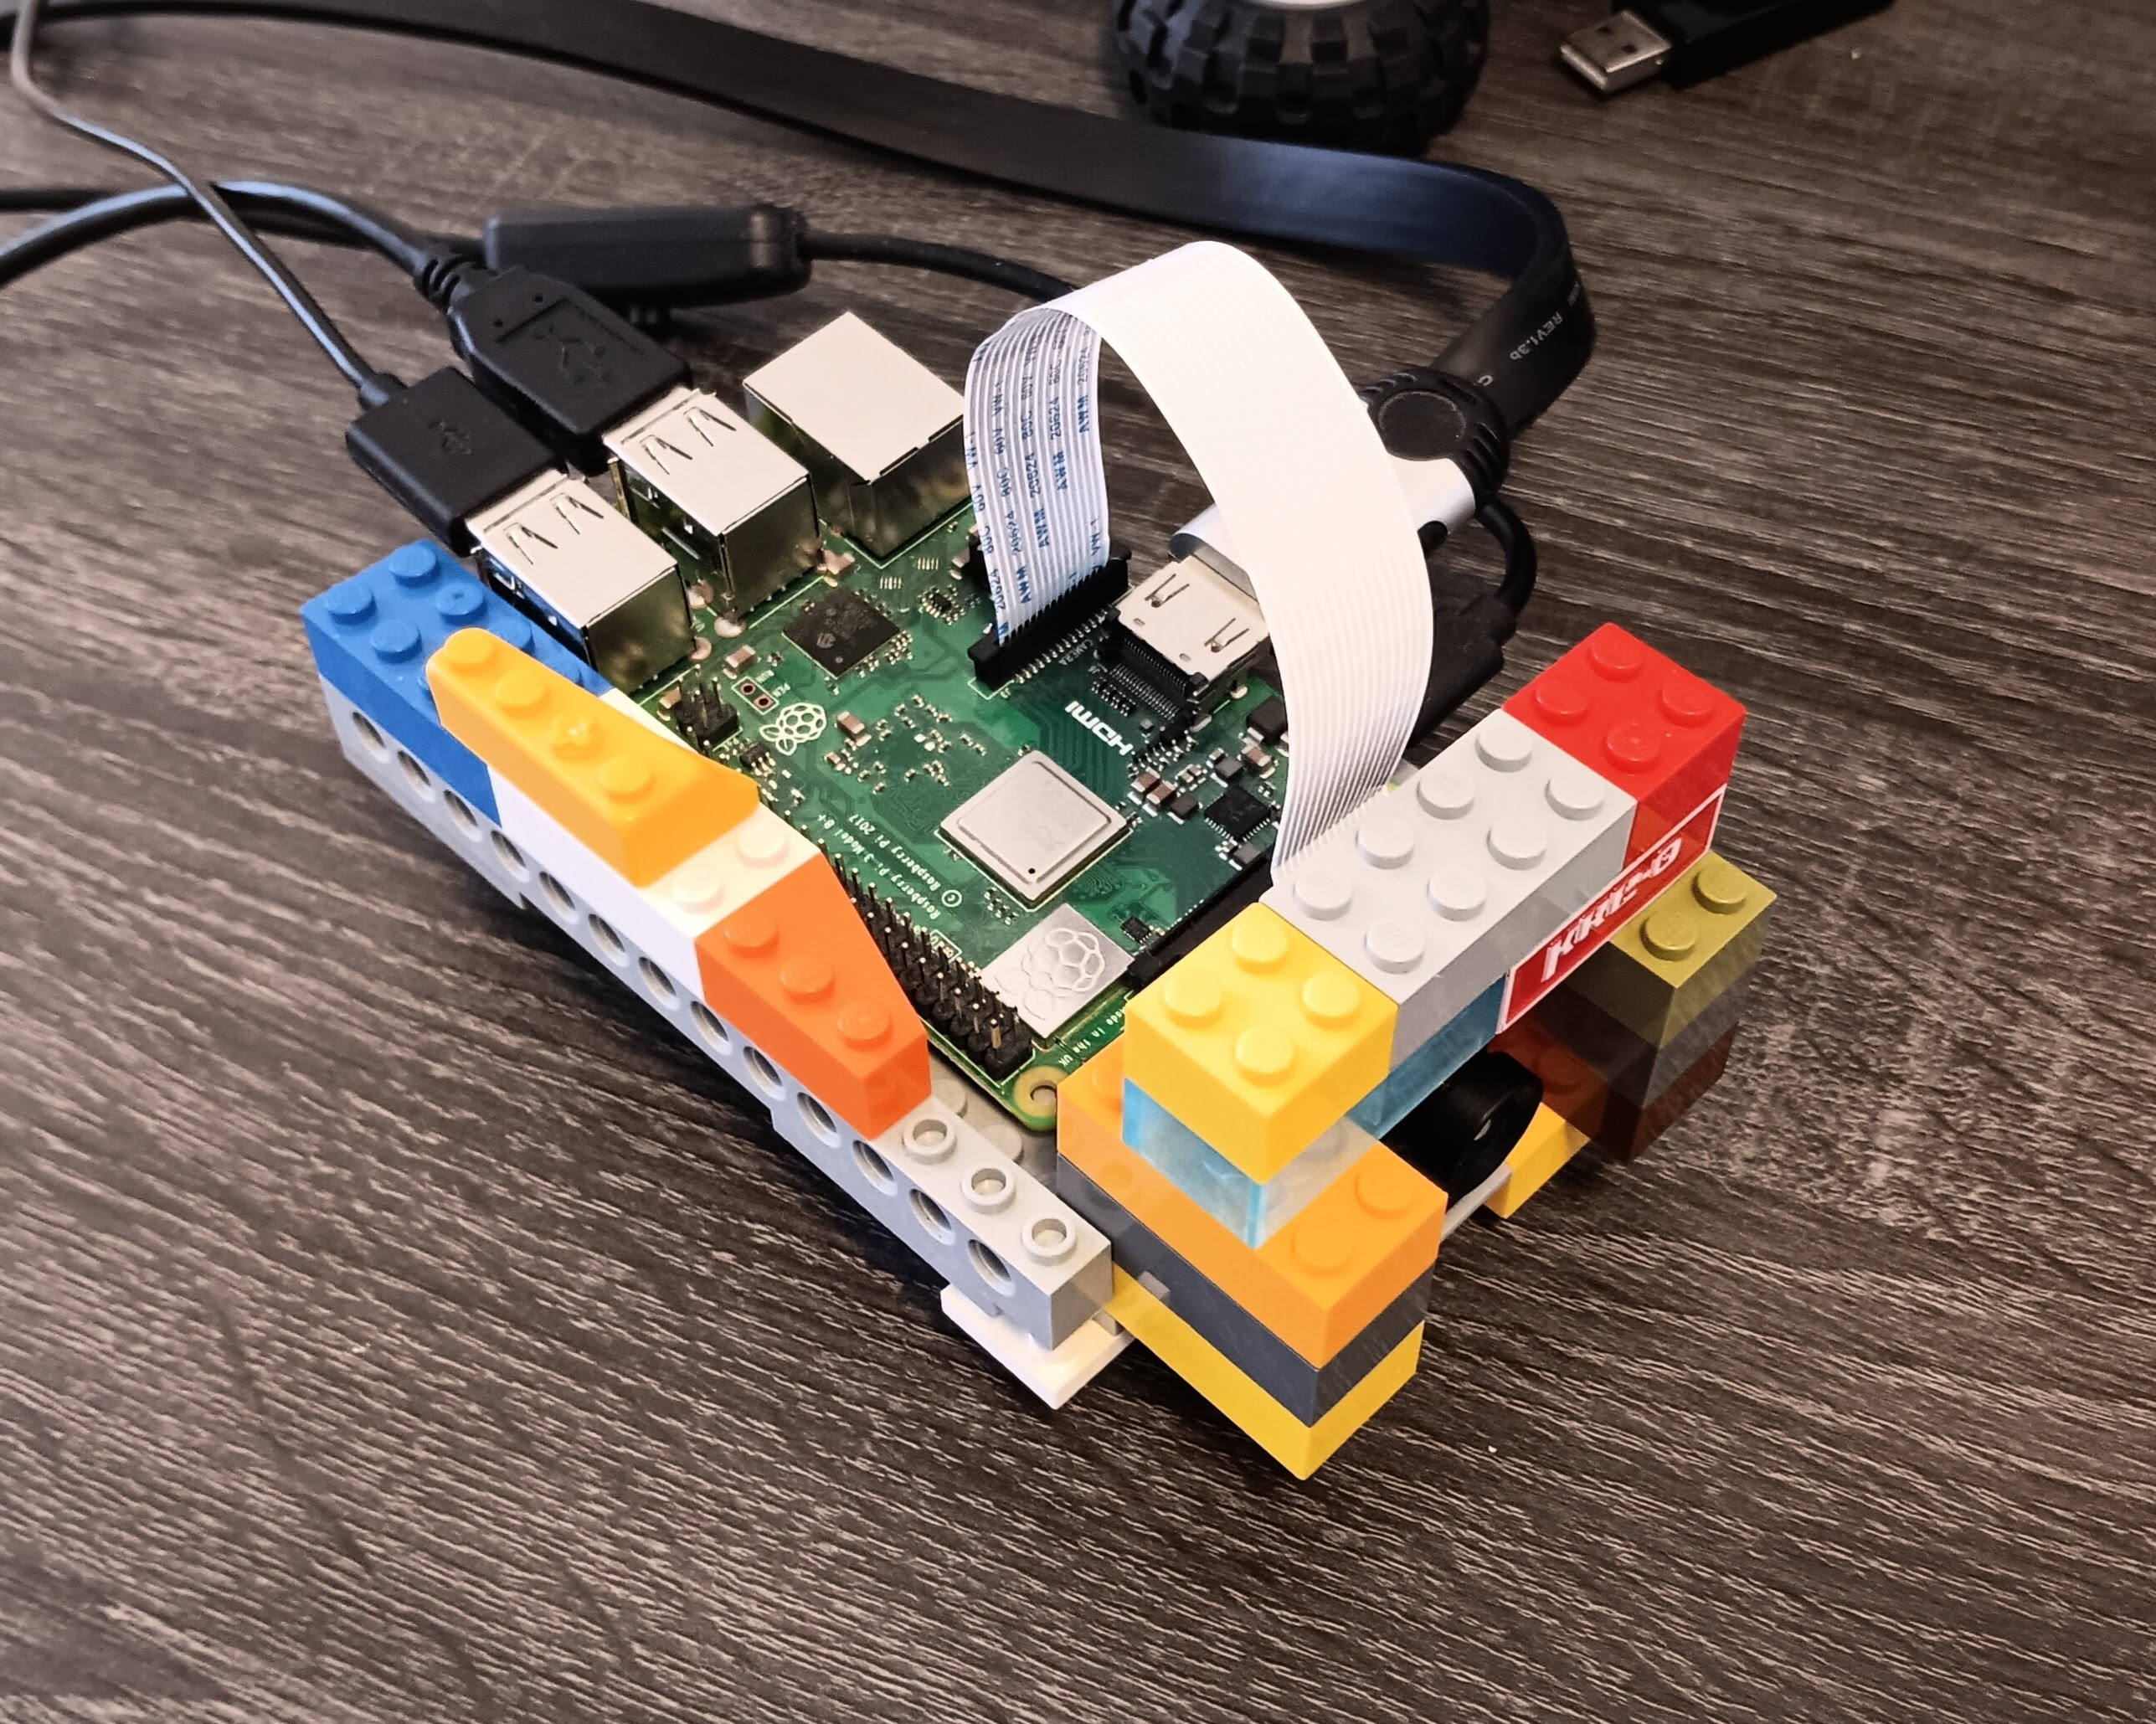
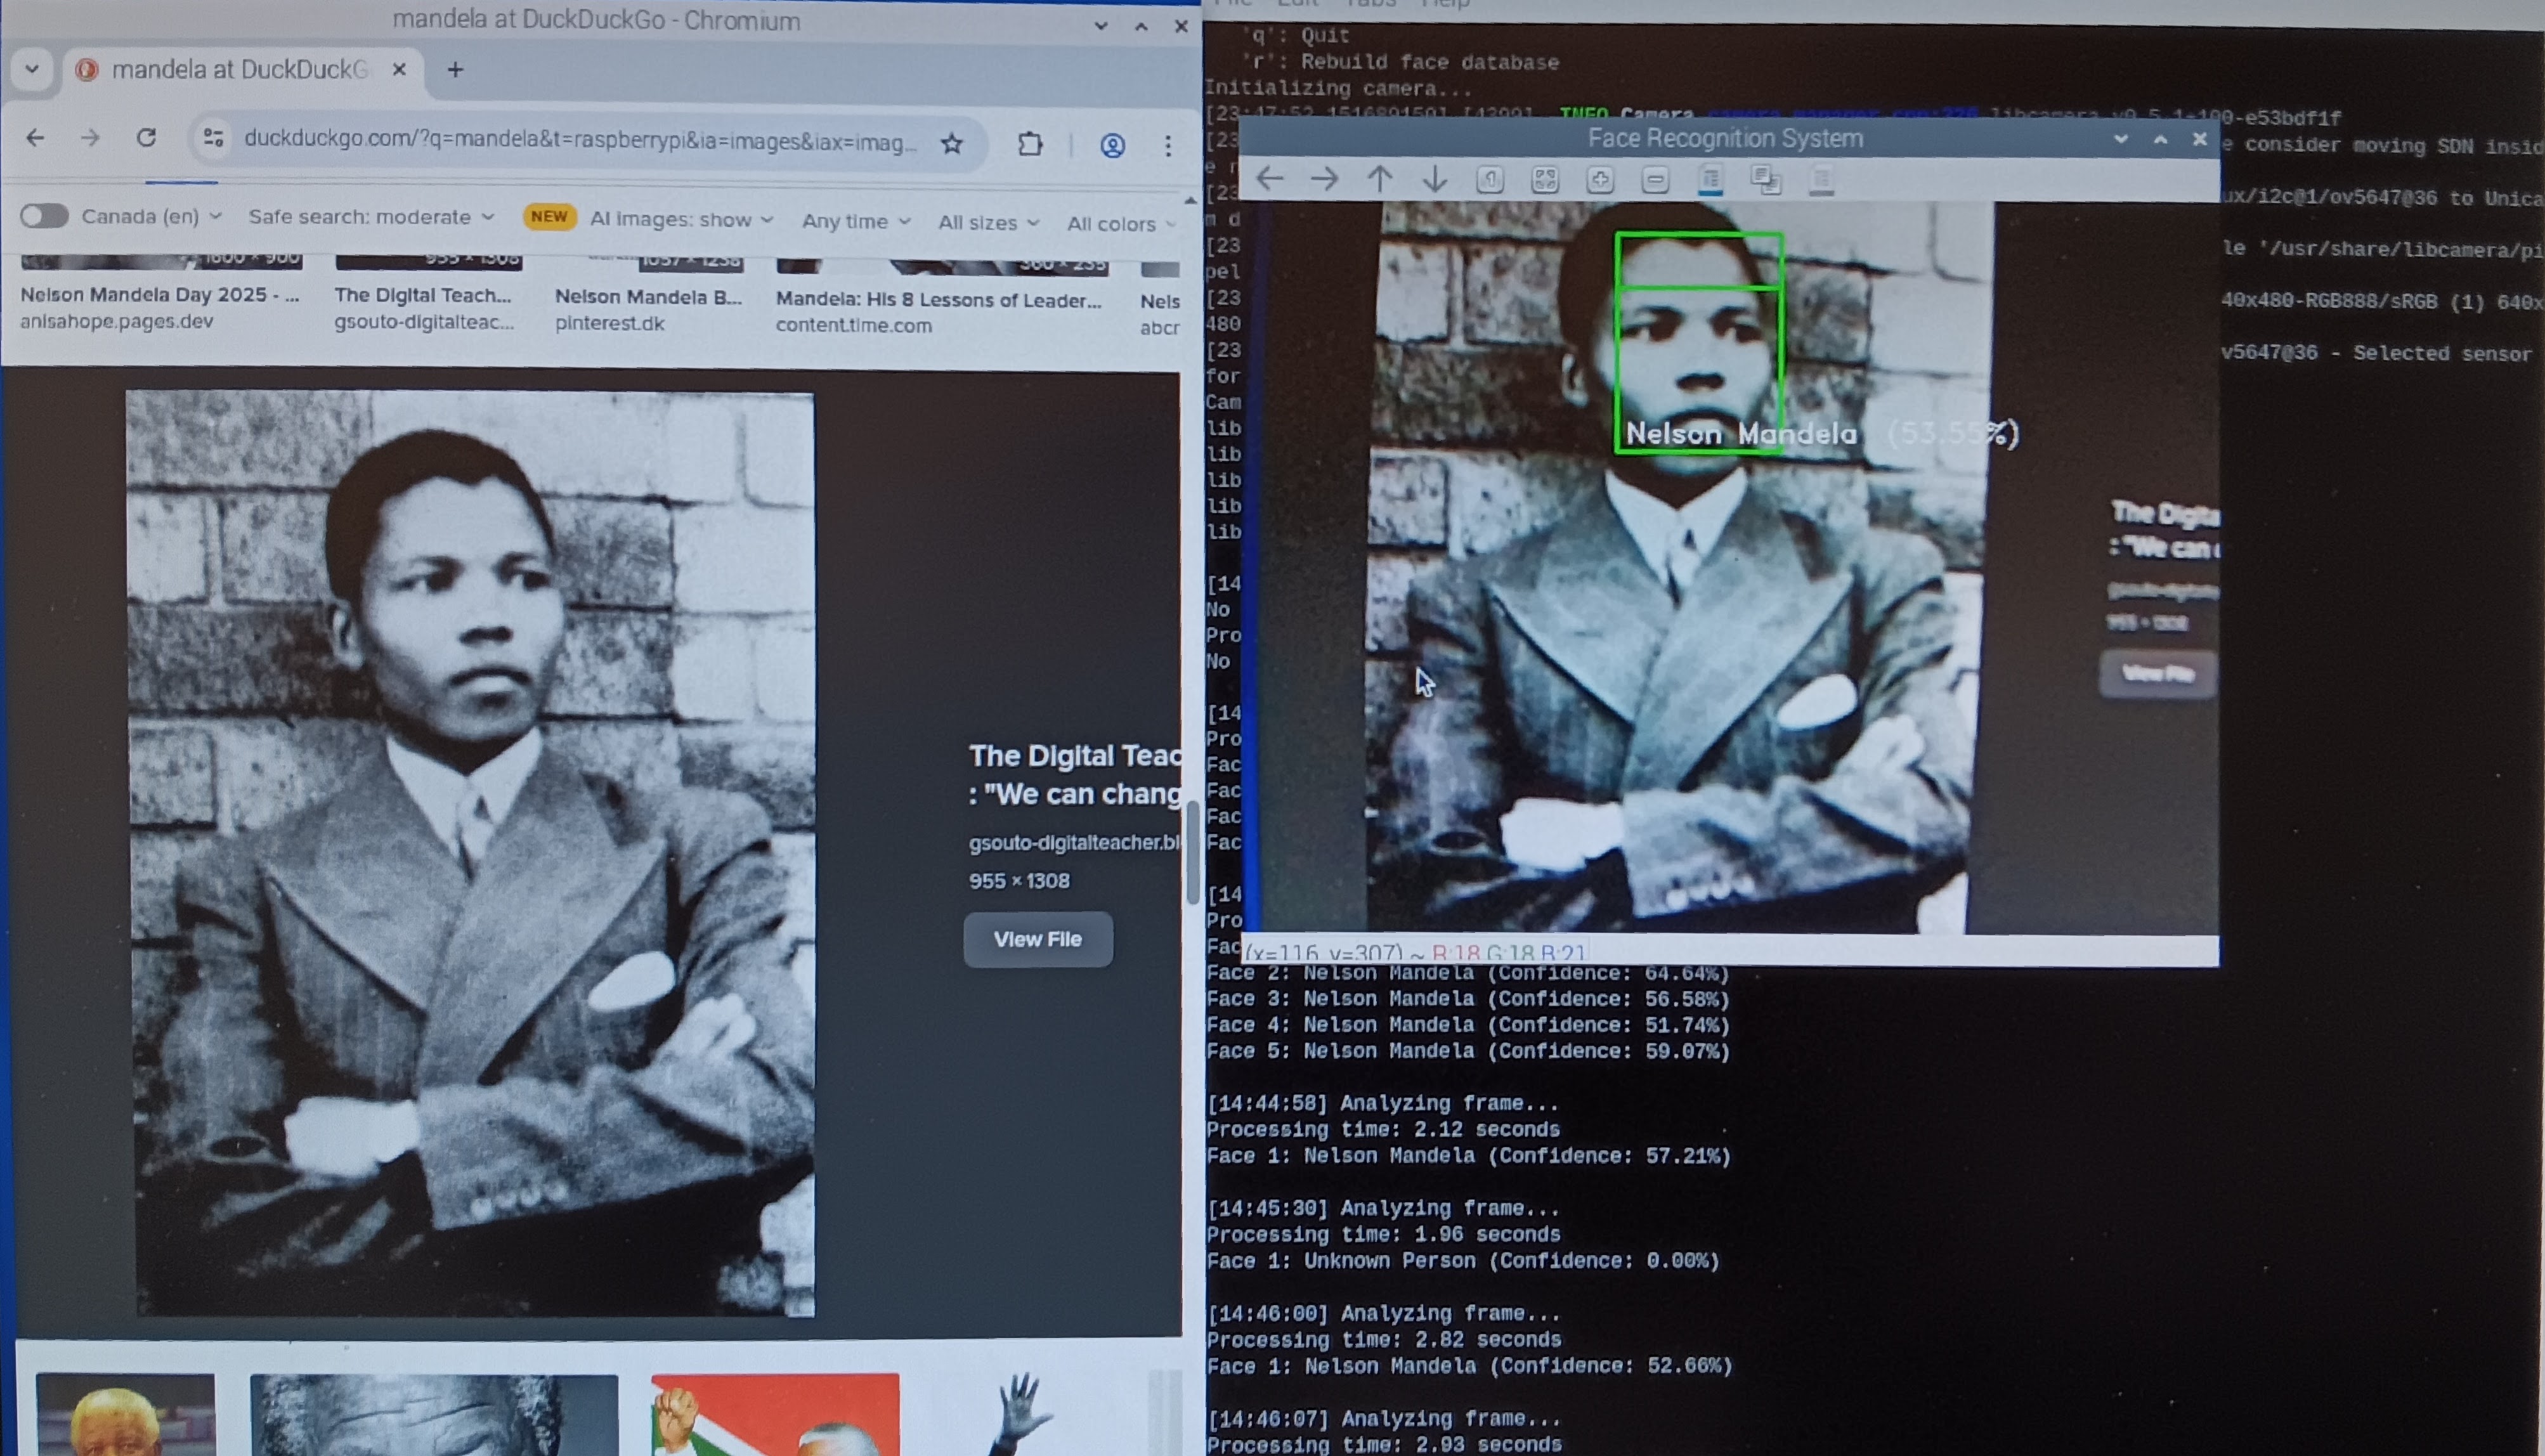
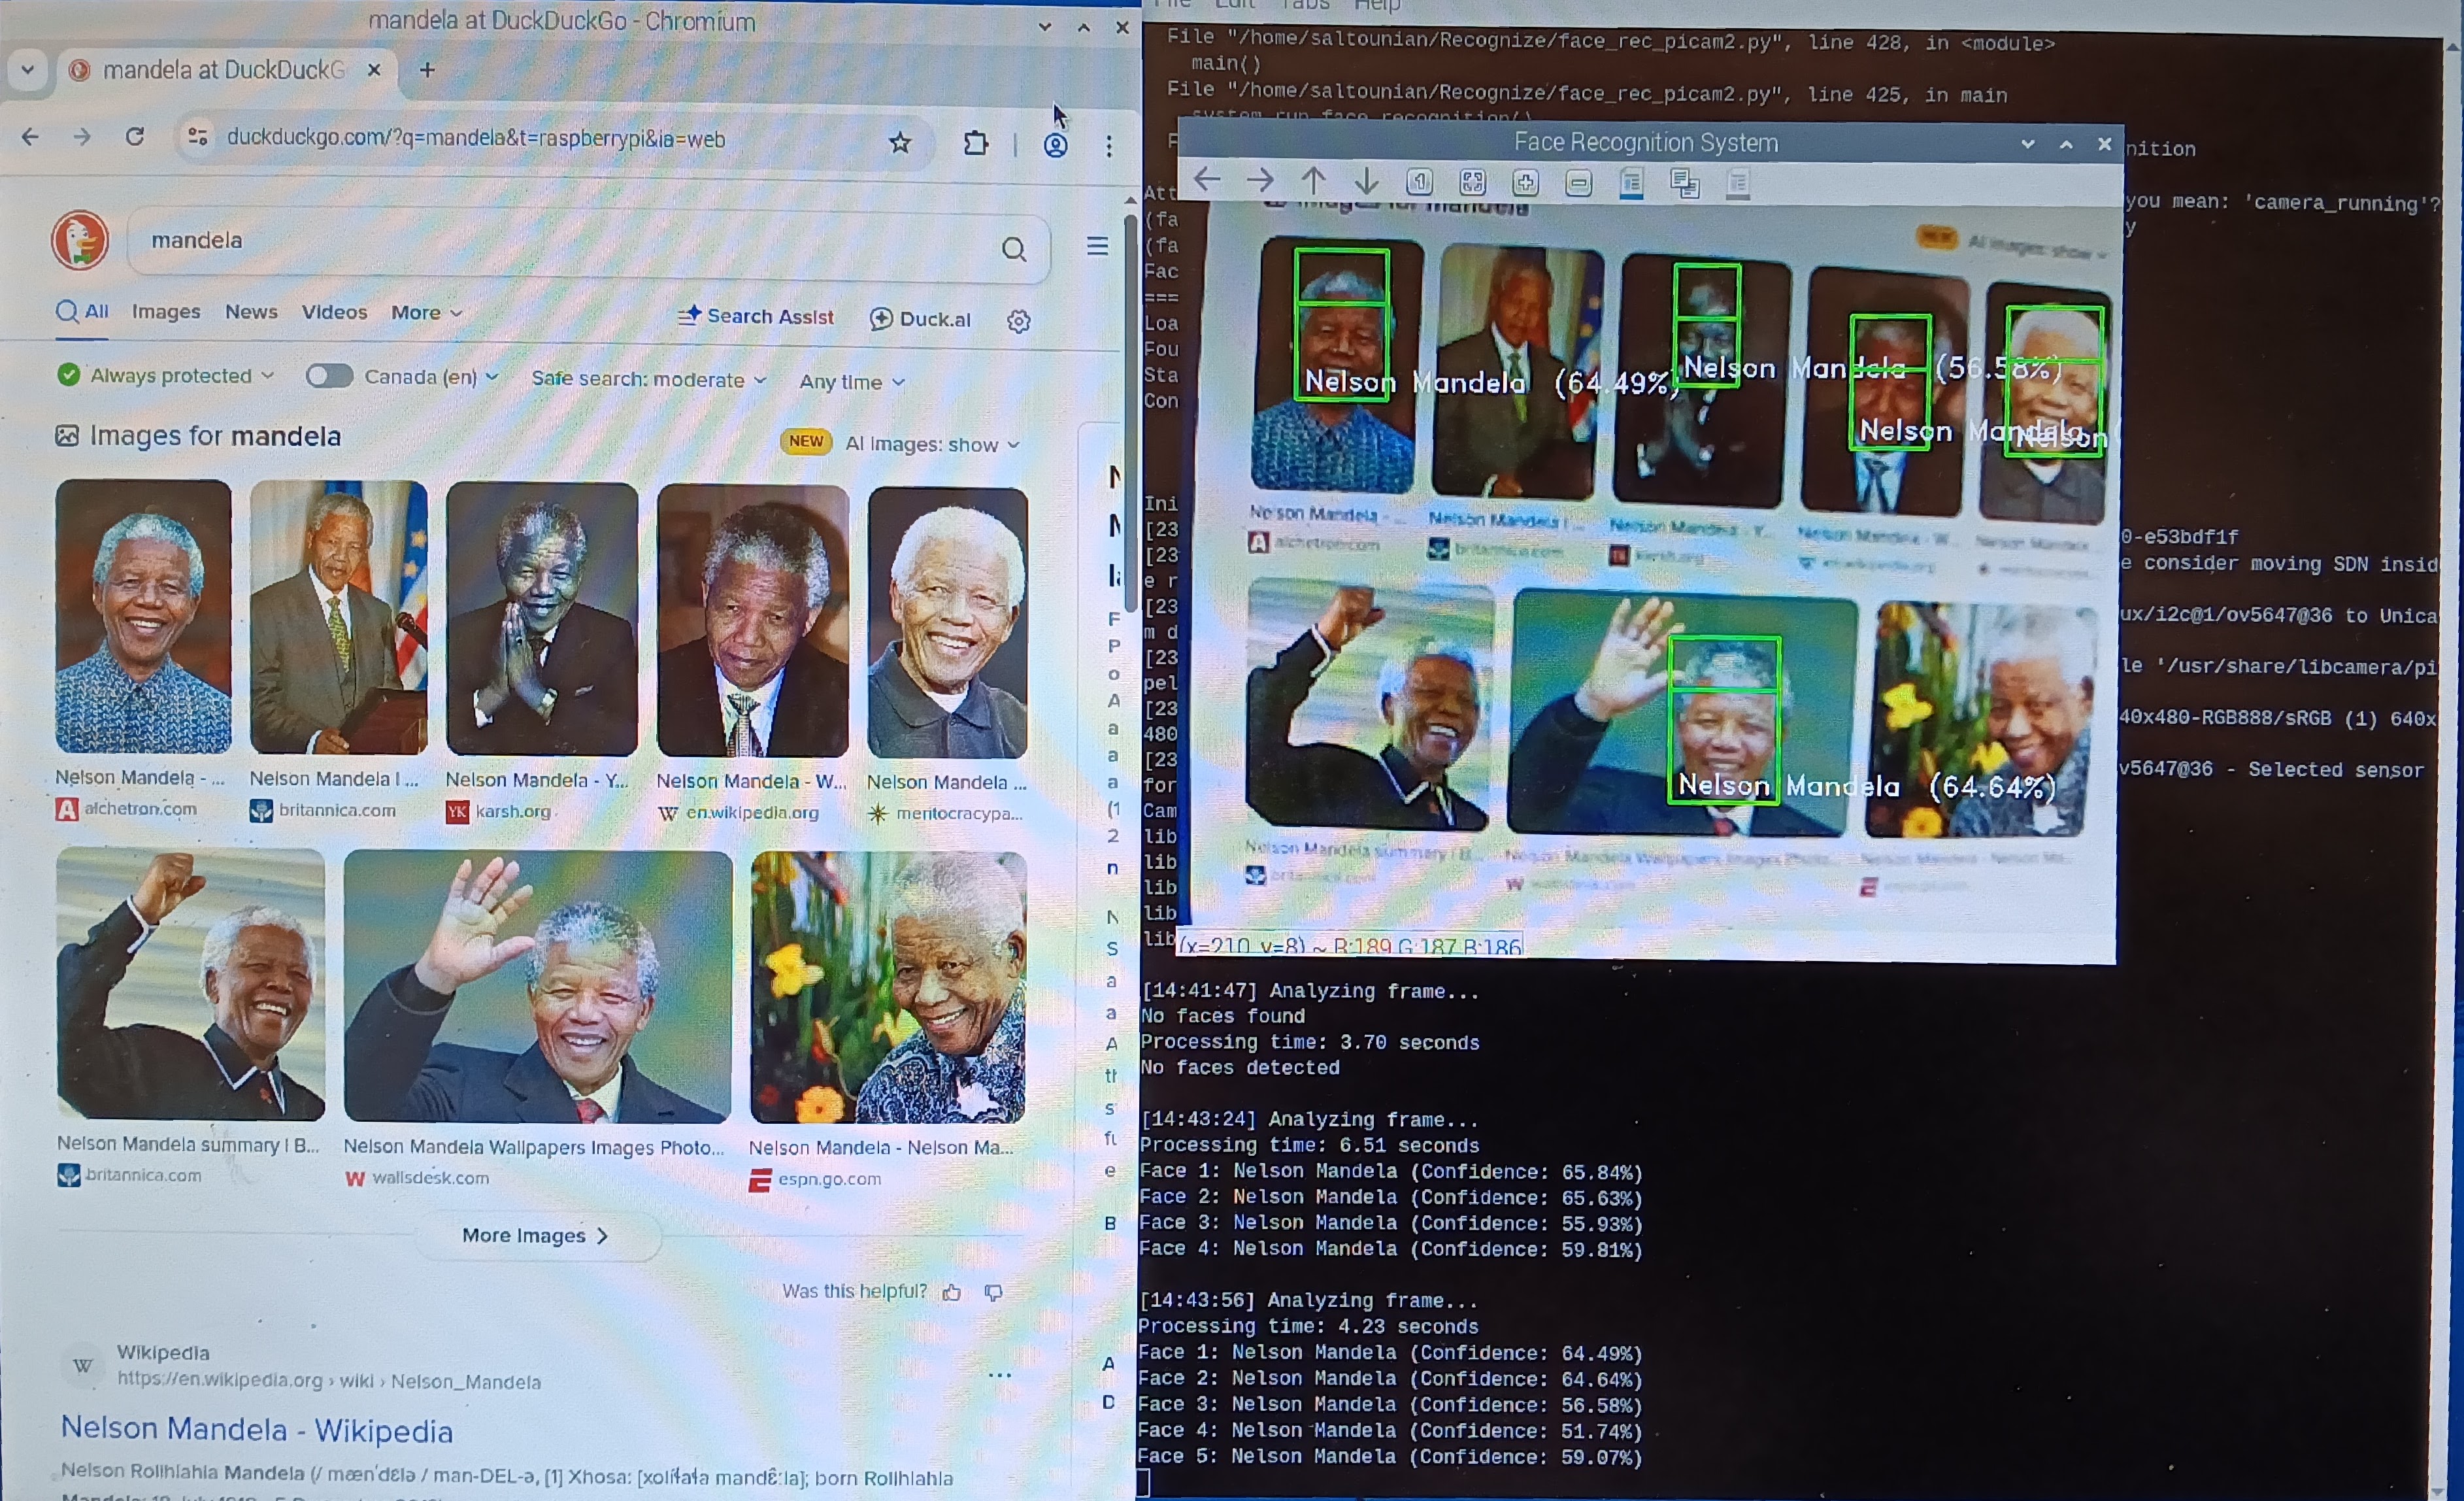
At one point during the project I had gone down so many rabbit holes that I decided to start with a clean slate. One of the reasons for my troubles was that both Claude and ChatGPT assumed the RPi-3 was using libcamera, and I had to remind them (after much experimentation) that since I was running Bookworm we should be using rpicam.
To clean up:
- Deactivate the virtual environment
- Remove
face_recognition_env
- Keep all project files, including the python script and training pictures
> deactivate
> rm -rf face_recognition_env
> sudo apt remove libcamera-apps libcamera-tools
> sudo apt autoremove
> sudo apt autoclean # clean package cache
Then, make sure that rpicam is still available:
> rpicam-hello --version
> ls /usr/bin/rpicam*
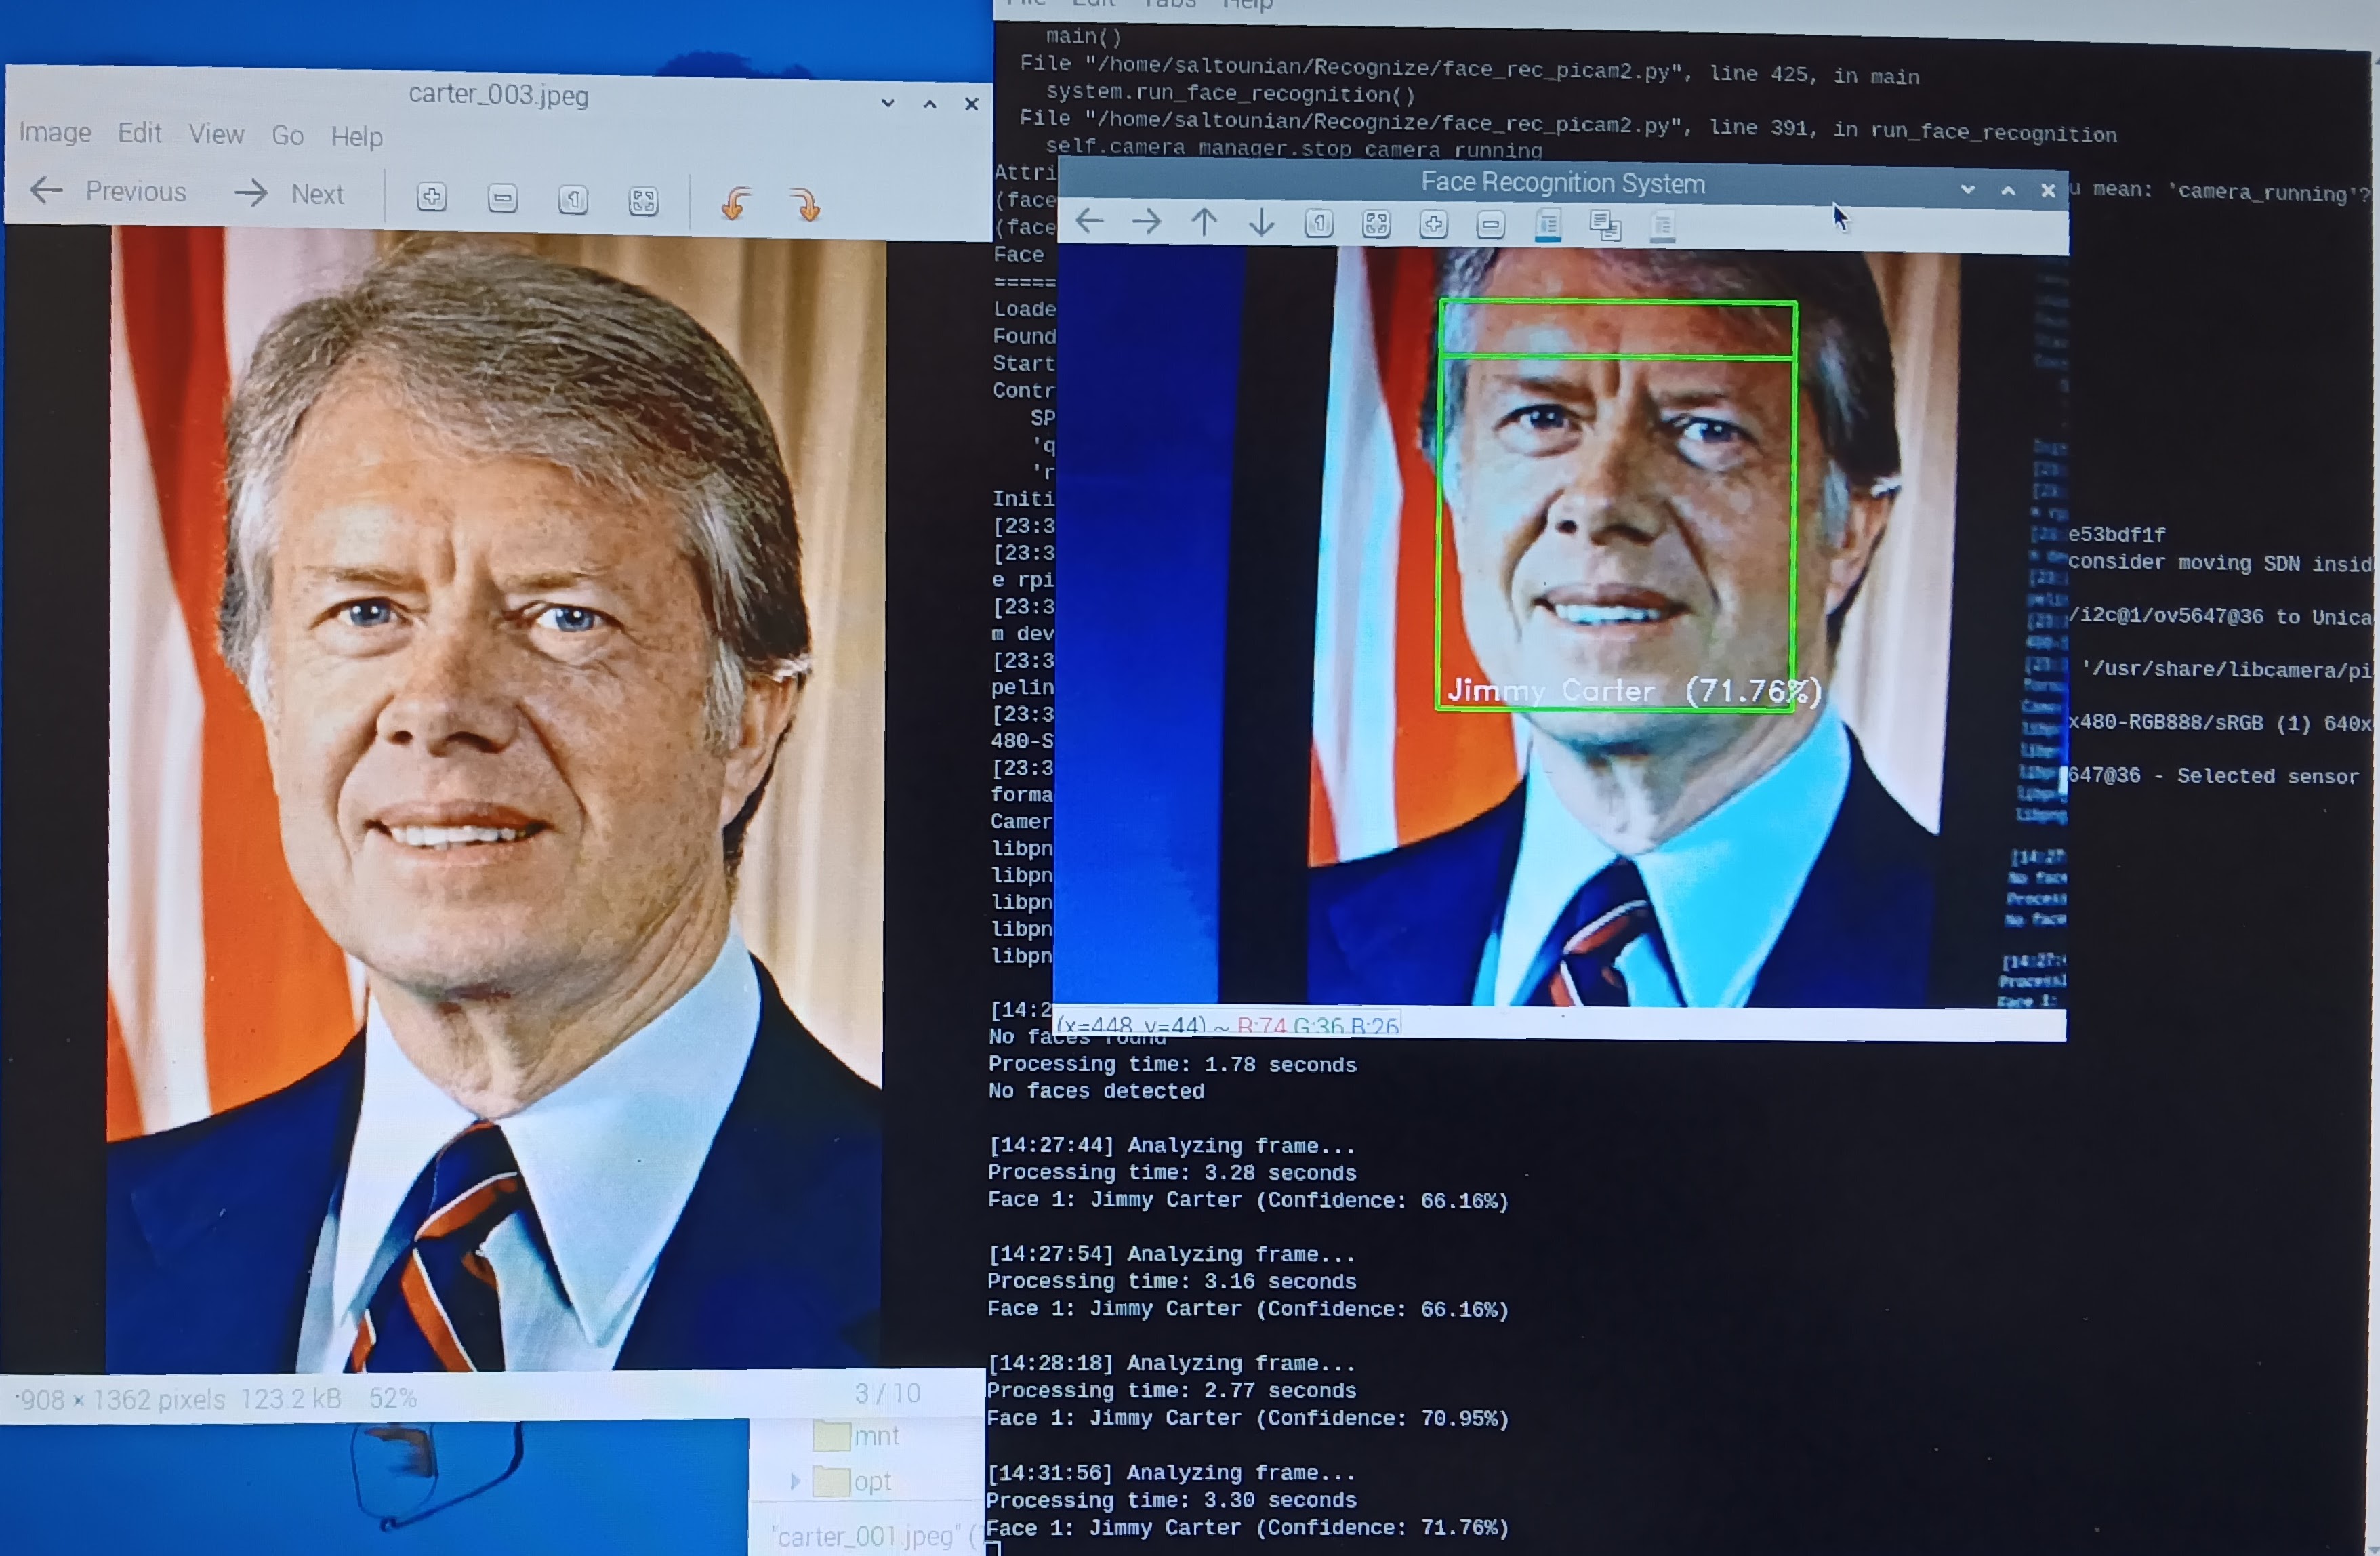
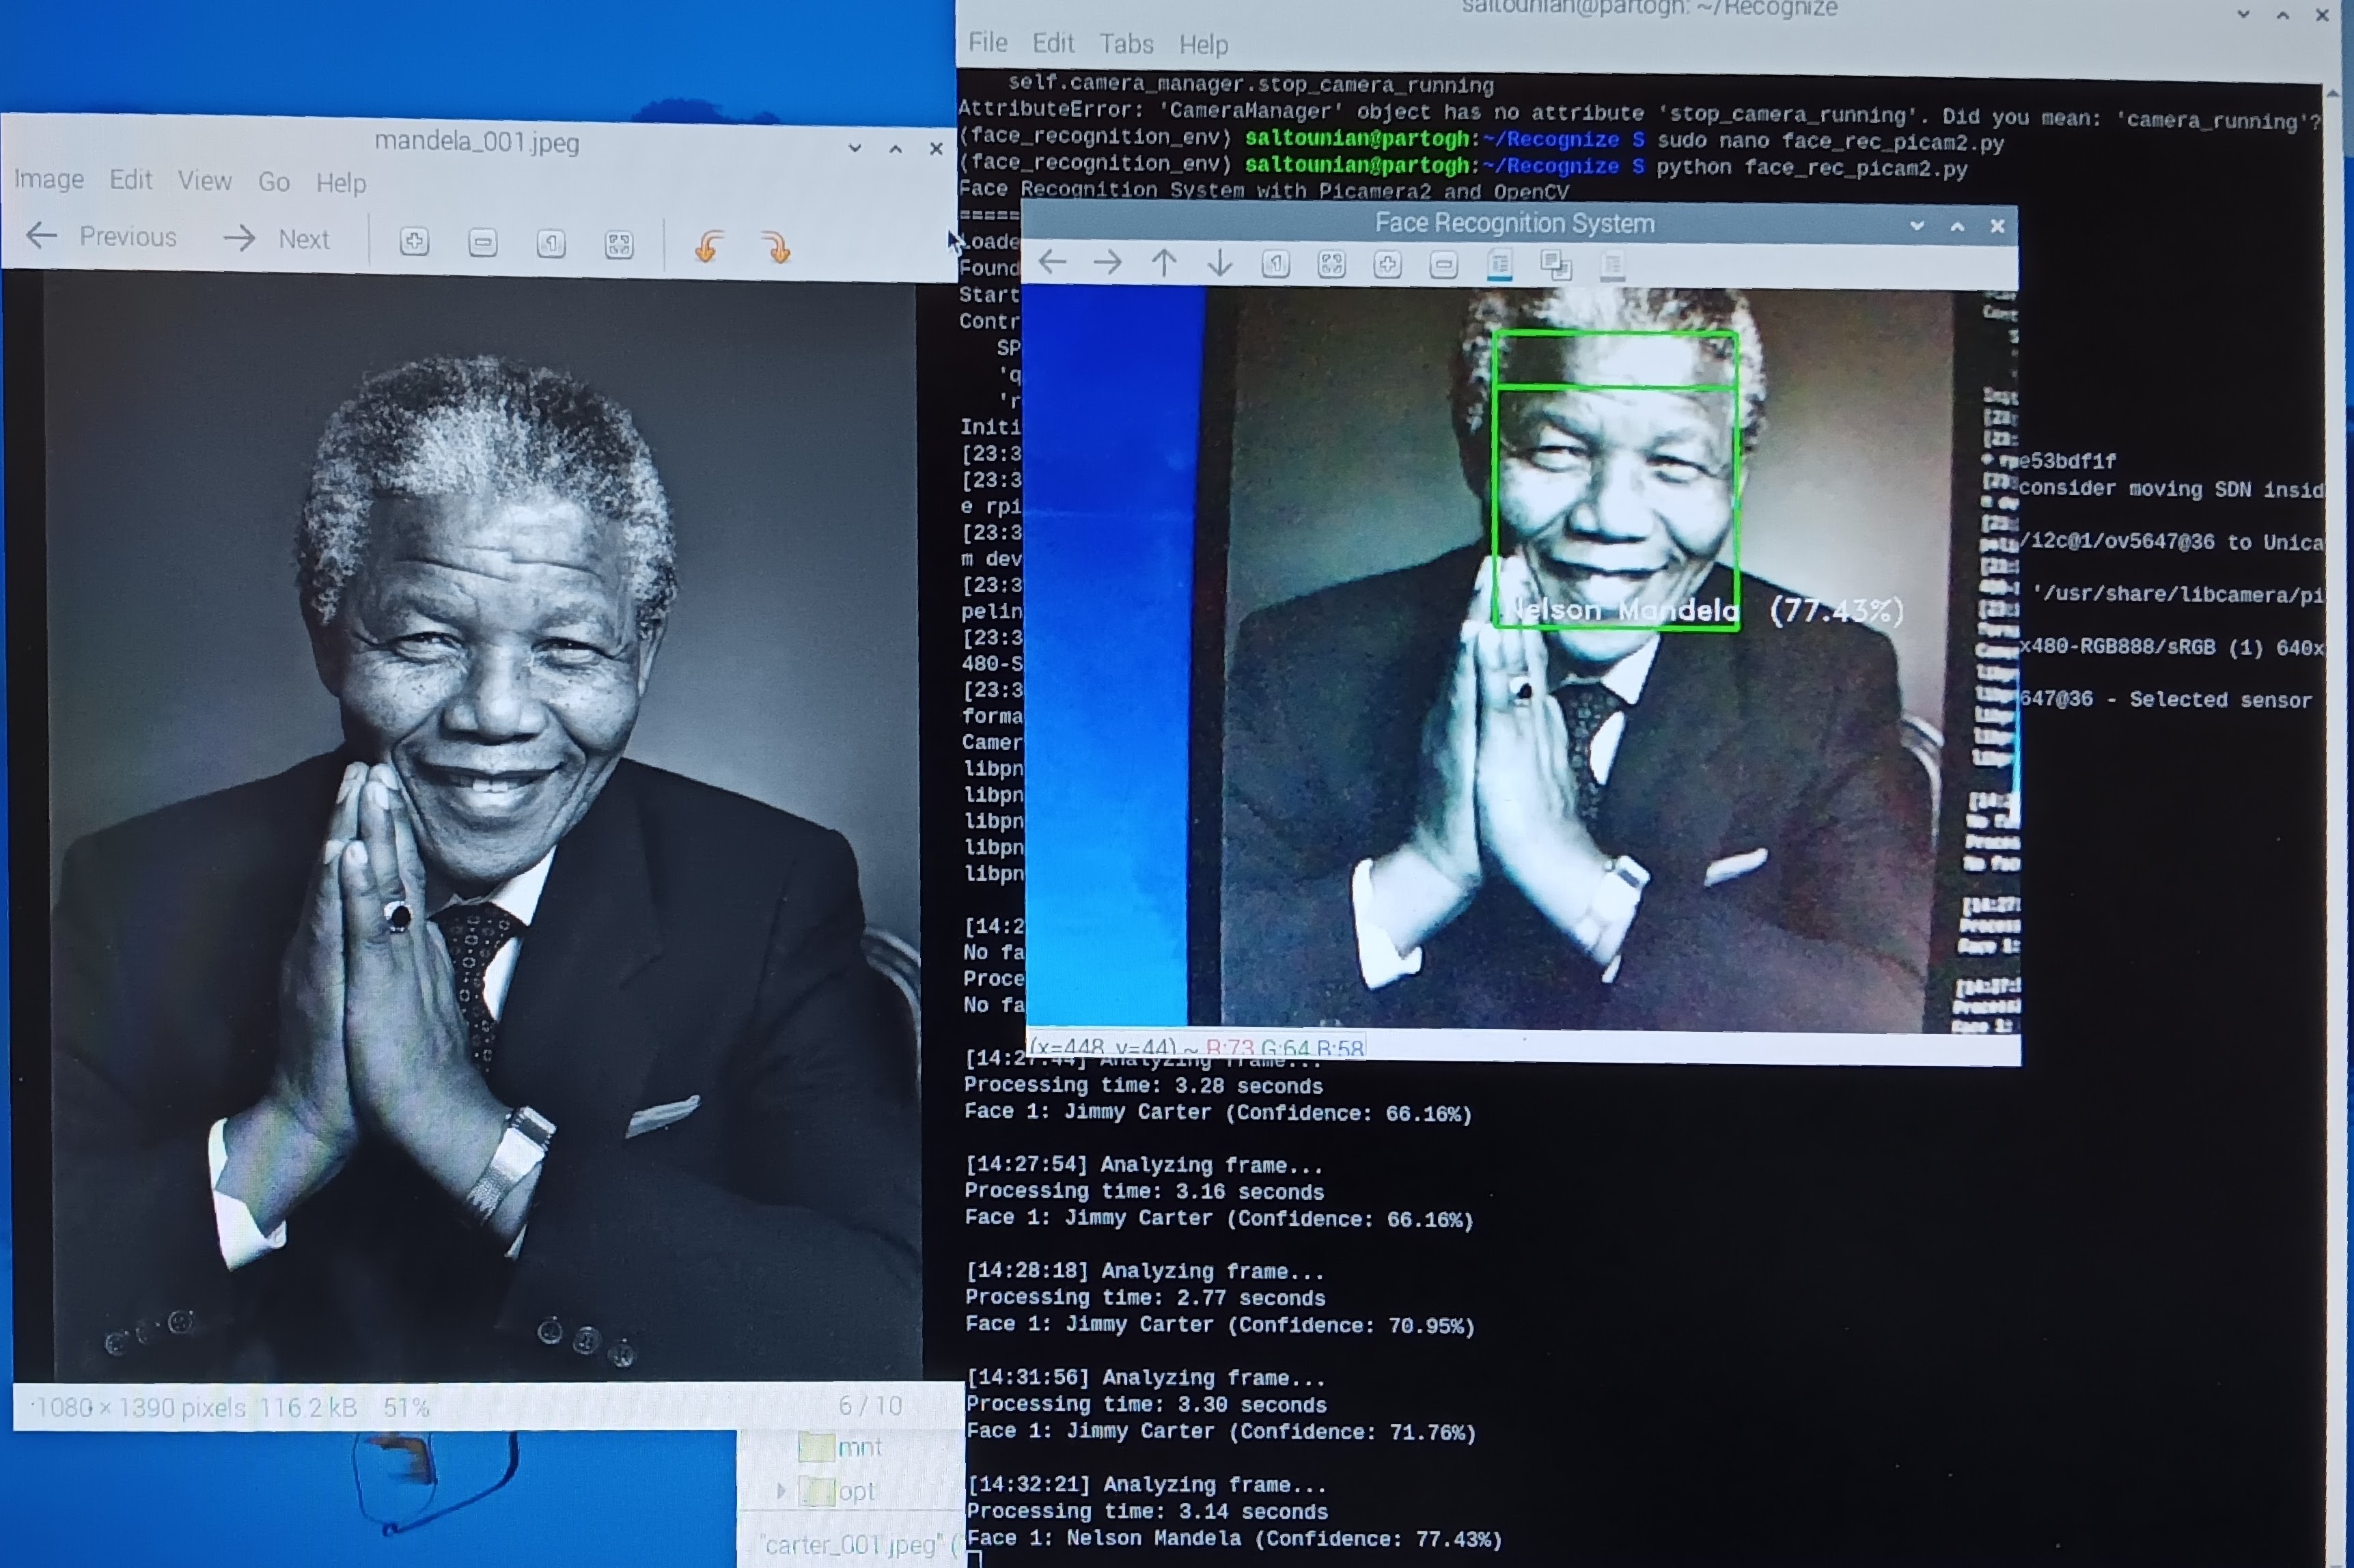
Image Rotation
By default, the camera in my setup captured images upside down. This apparently prevents OpenCV2 from recognizing faces, given that all training data for face recognition has faces that are straight on and right side up. Here's how you can configure your camera to rotate the images:
from picamera2 import Picamera2
from libcamera import Transform

picam2 = Picamera2()
transform = Transform(rotation=180)

camera_configuration = picam2.create_preview_configuration(
	main={“size”: (640, 480), “format”: “RGB888”},
	transform=transform
)